3D Printing Projects 202507 – 1-2-3 Block and Fasteners

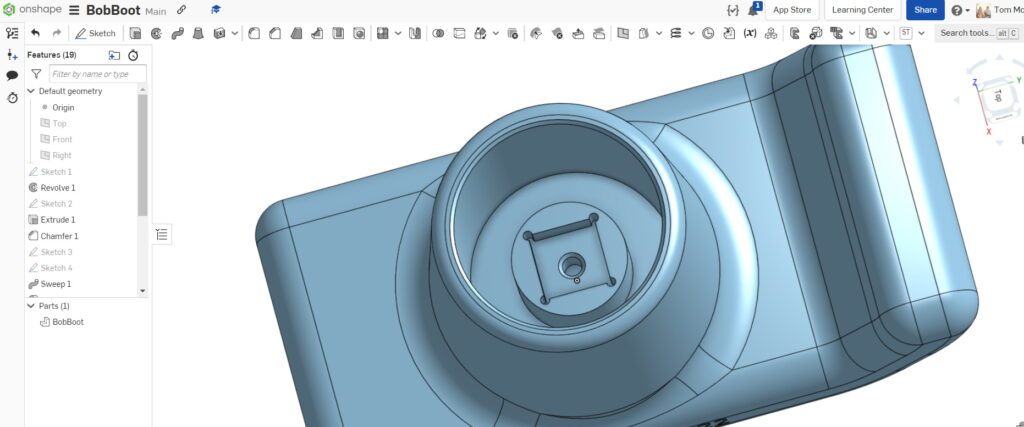
I wanted a simple but not trivial visual aid for the Onshape class and stumbled upon the 123 block as a nice prismatic practice piece. Pattering the holes got to be more involved than anyone imagined. Very good exercise for Oshape.

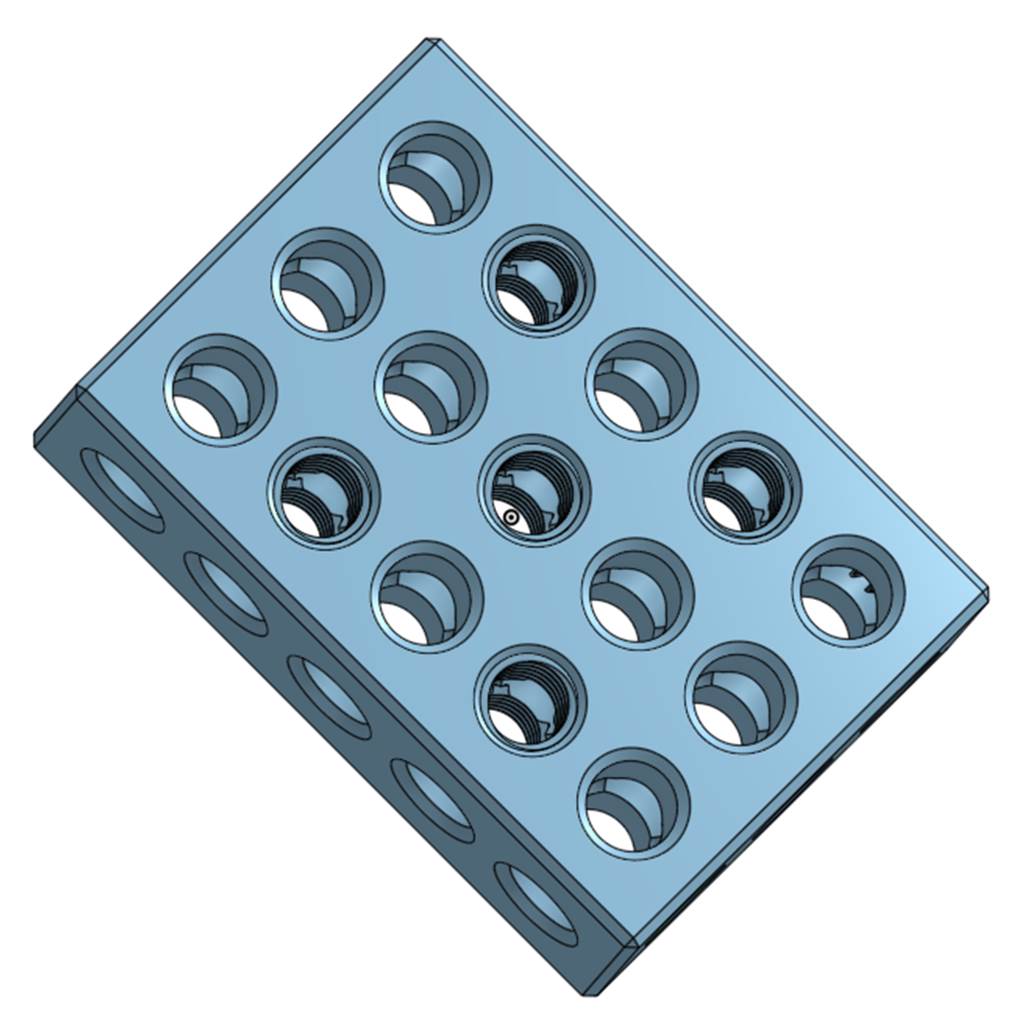
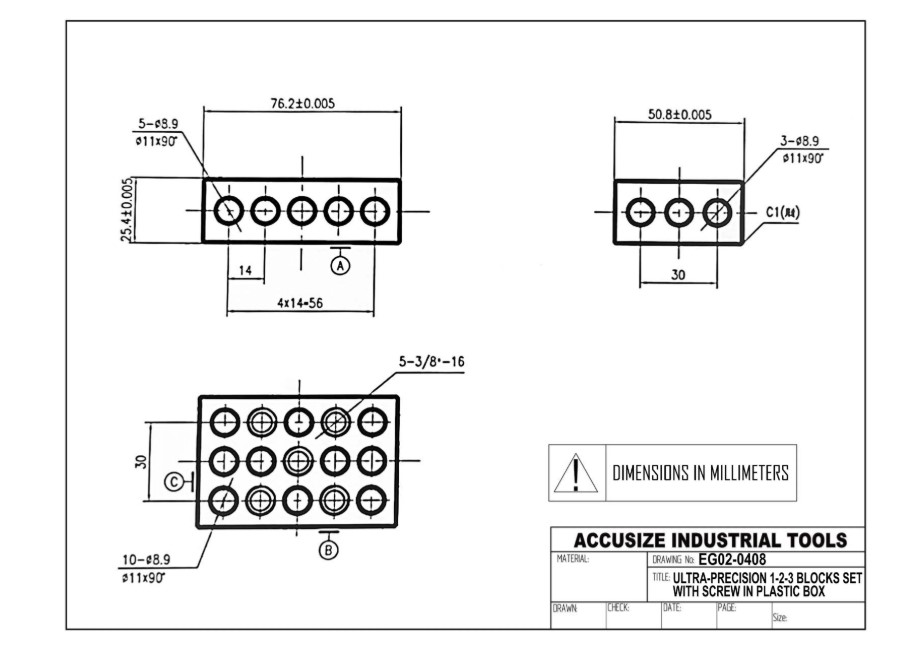
Utilizing an internet seach a drawing of a 123 block was found.

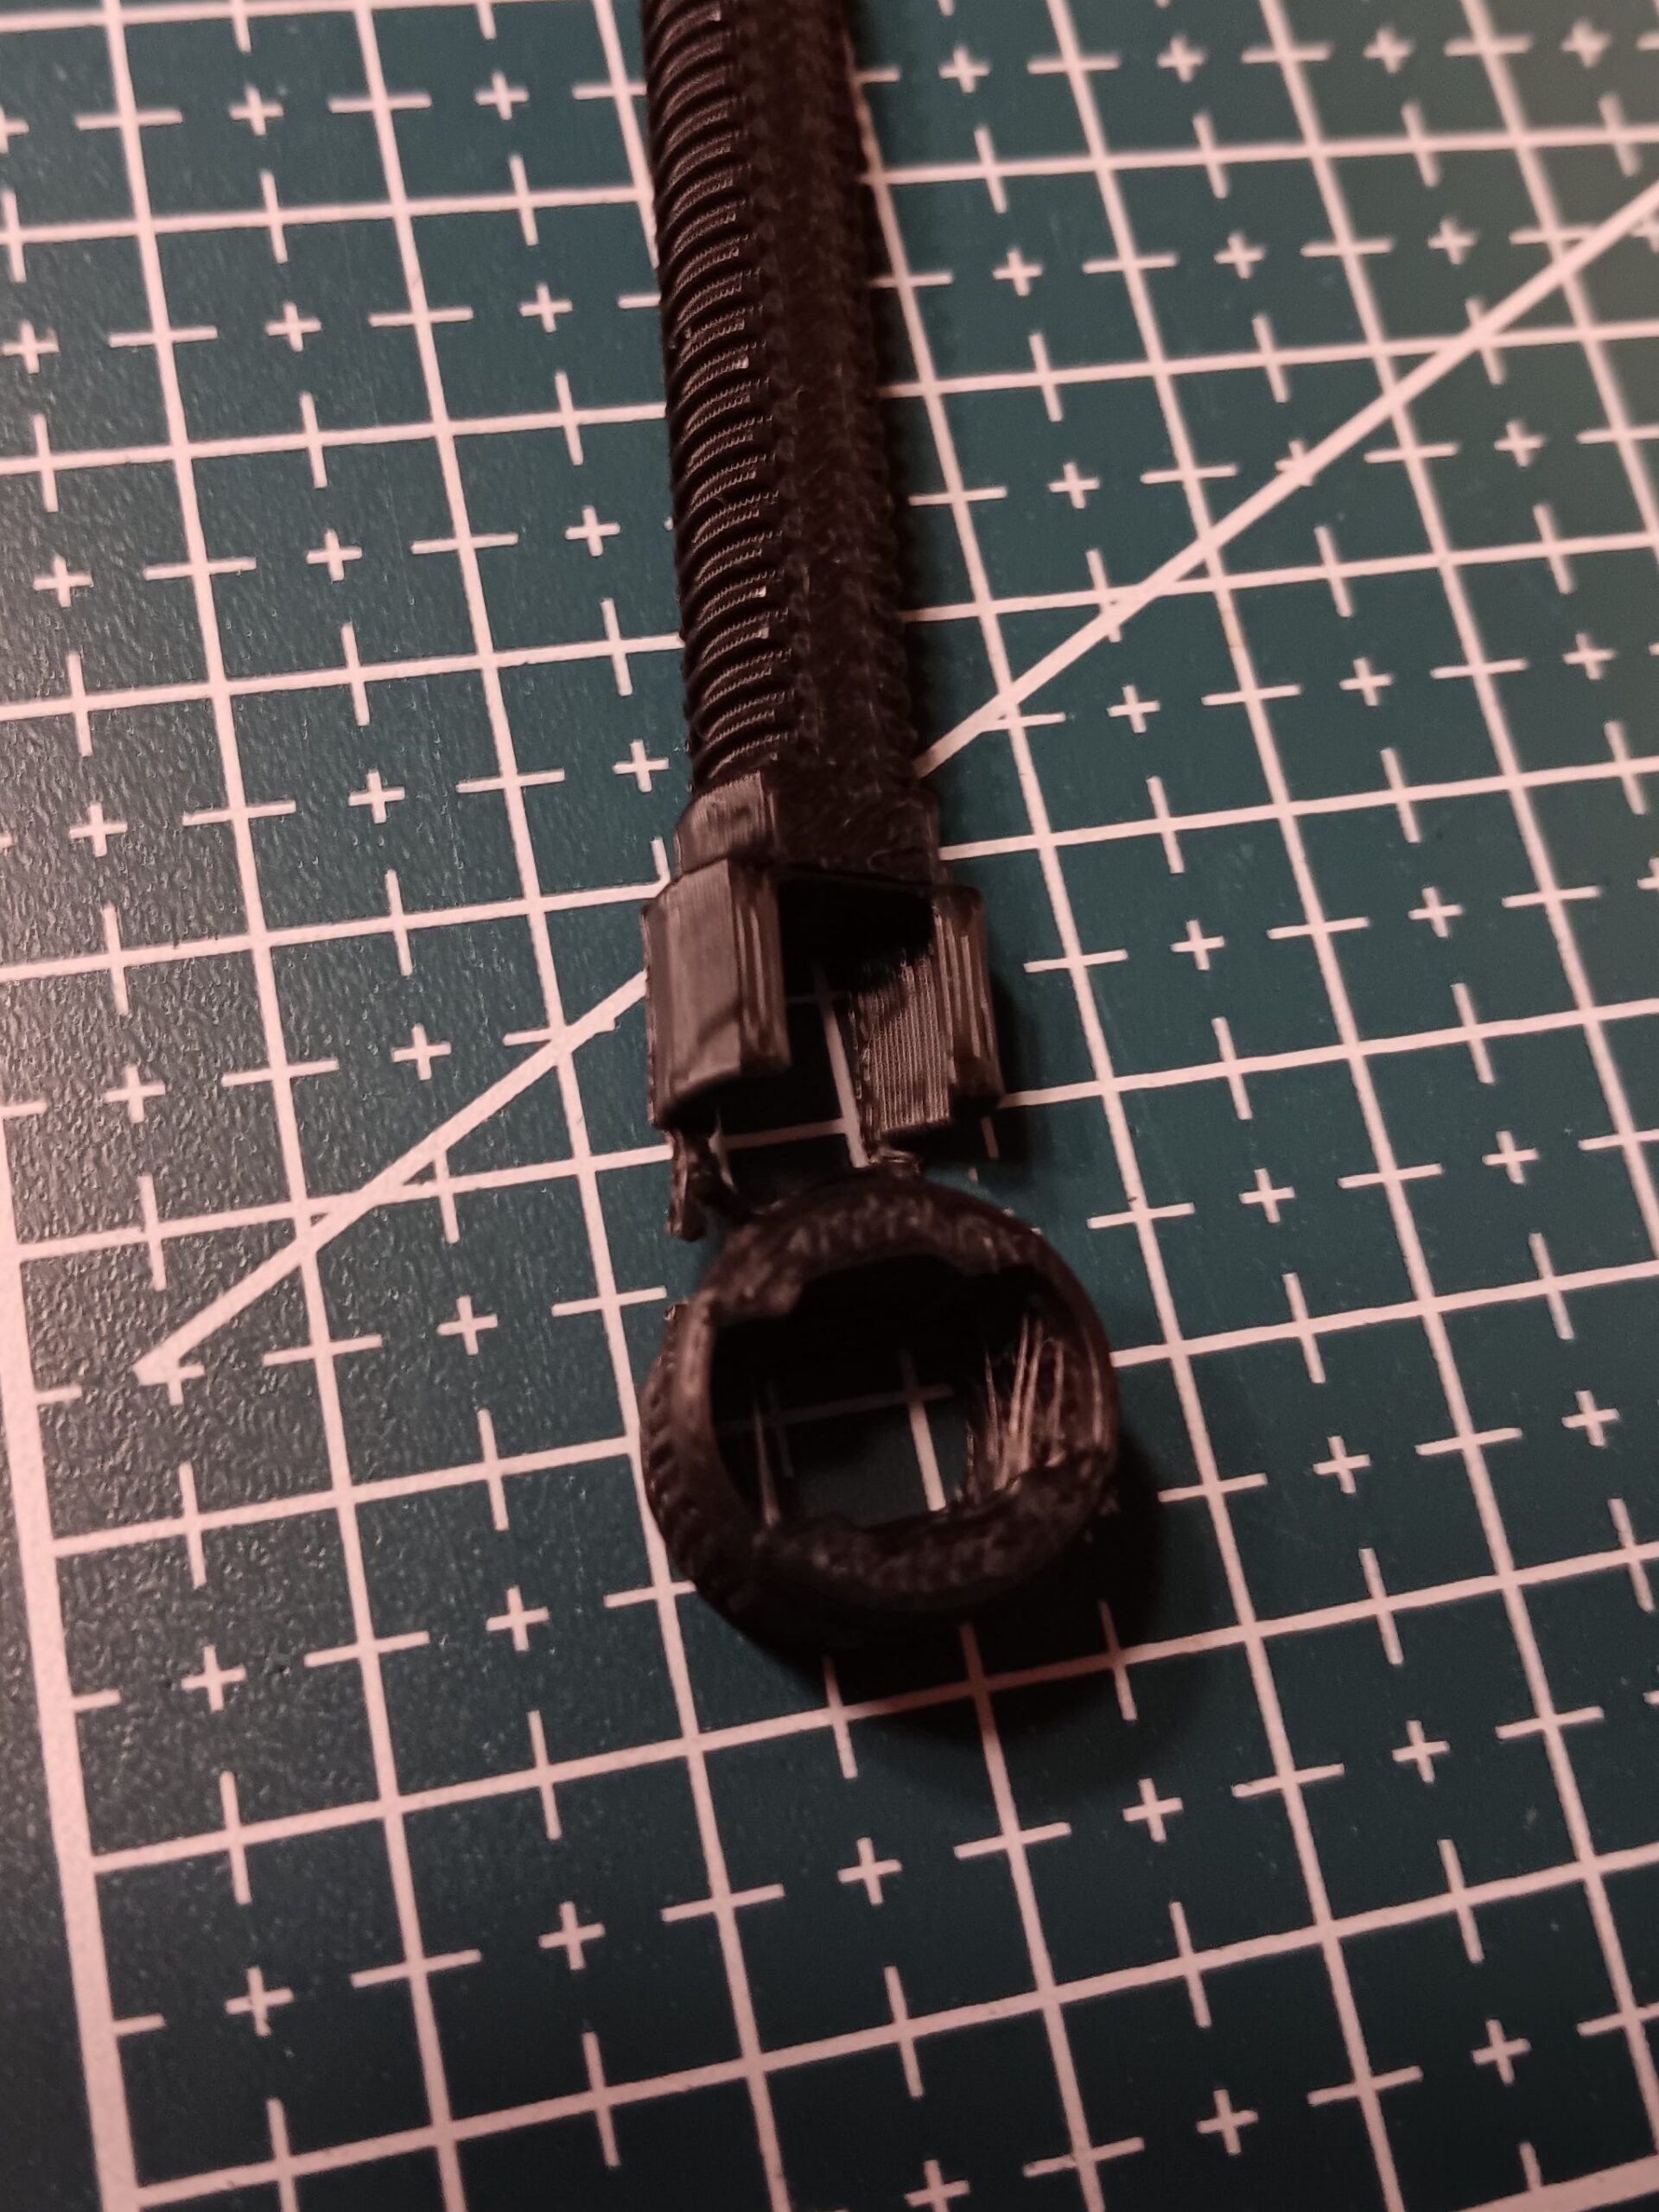
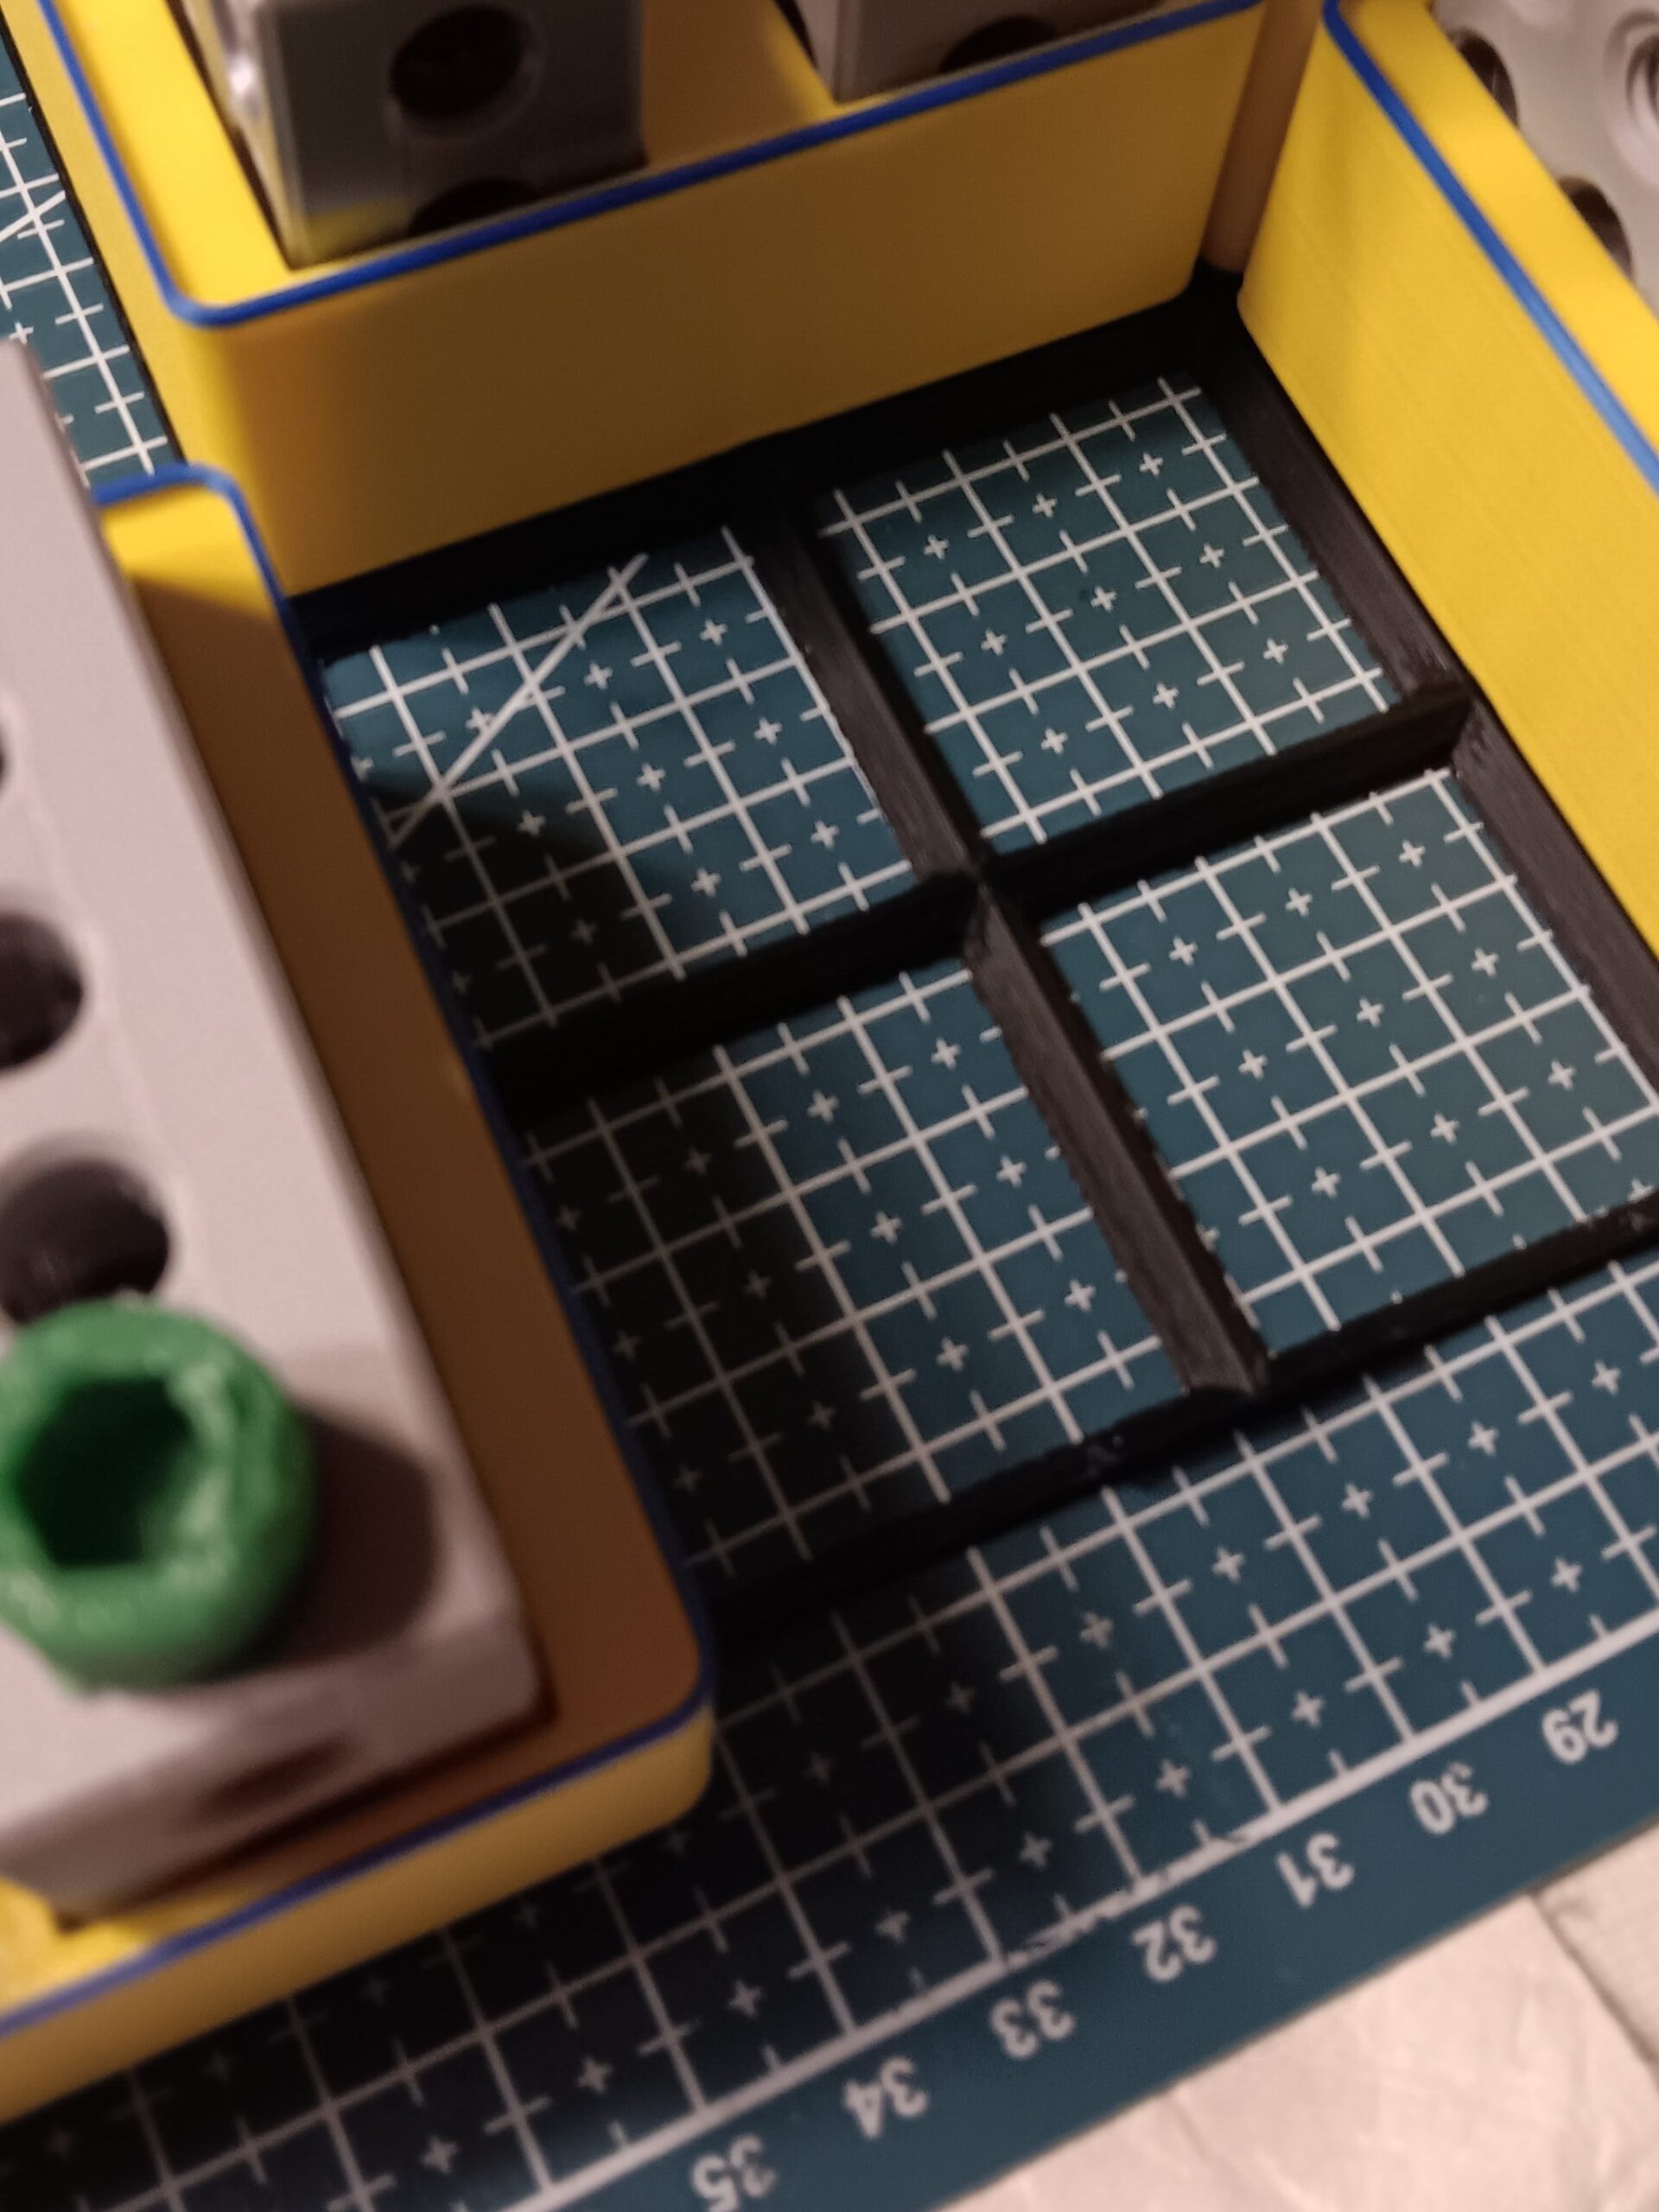
It would be nice to have fasteners to connect blocks together. To make stong threads the thread forms are printed in the XY orientation. The head was separated from the whole screw to form a T handle on the threaded portion and part of the hex socket for maximum torque. The head was then relocated for better printing orientation and a tree was added to hold them together until assembled. Configurations were established to make length selection easy.

1-2-3 blocks in holders in the Grid Finity system. Various fasterners and T-wrenches of the style described.
A body and head as it would be in the printed orientation. The threads in the x-y plane offer the best strength. the knurled part of the head is also strong in this orientation. The flats on the threaded body allow for no supports needed to print. THe head is attached via some small strips to keep the two pieces as one until needed.
A close-up of the nests and the grid finity base
grid.

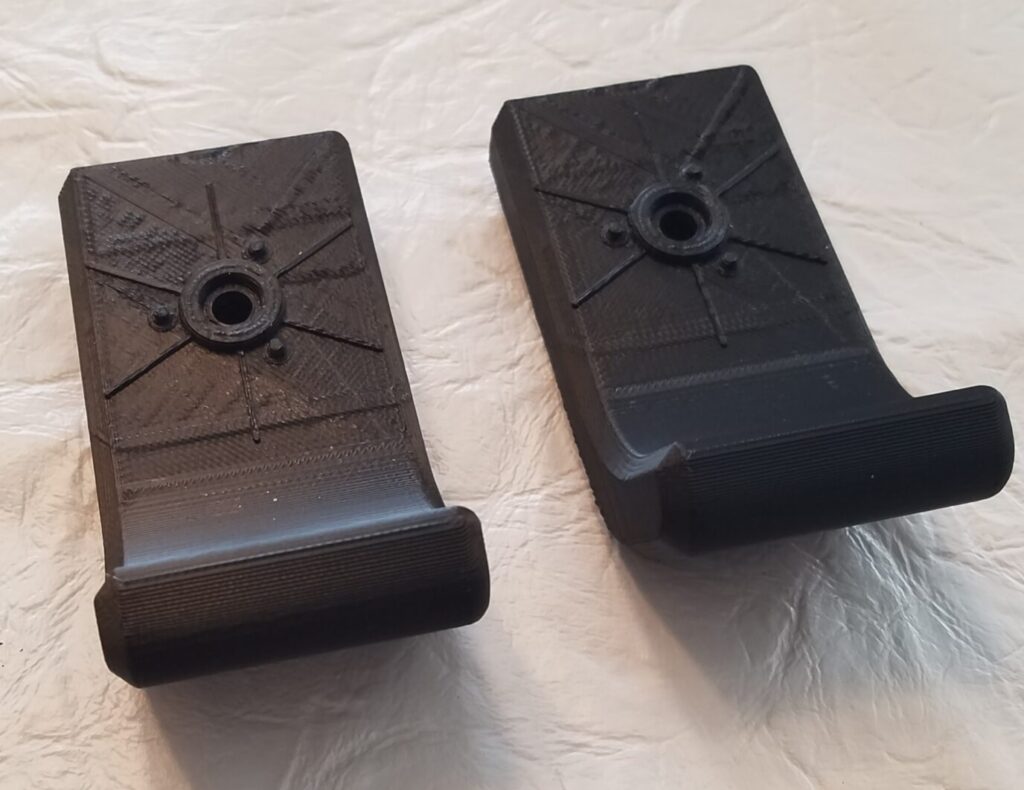
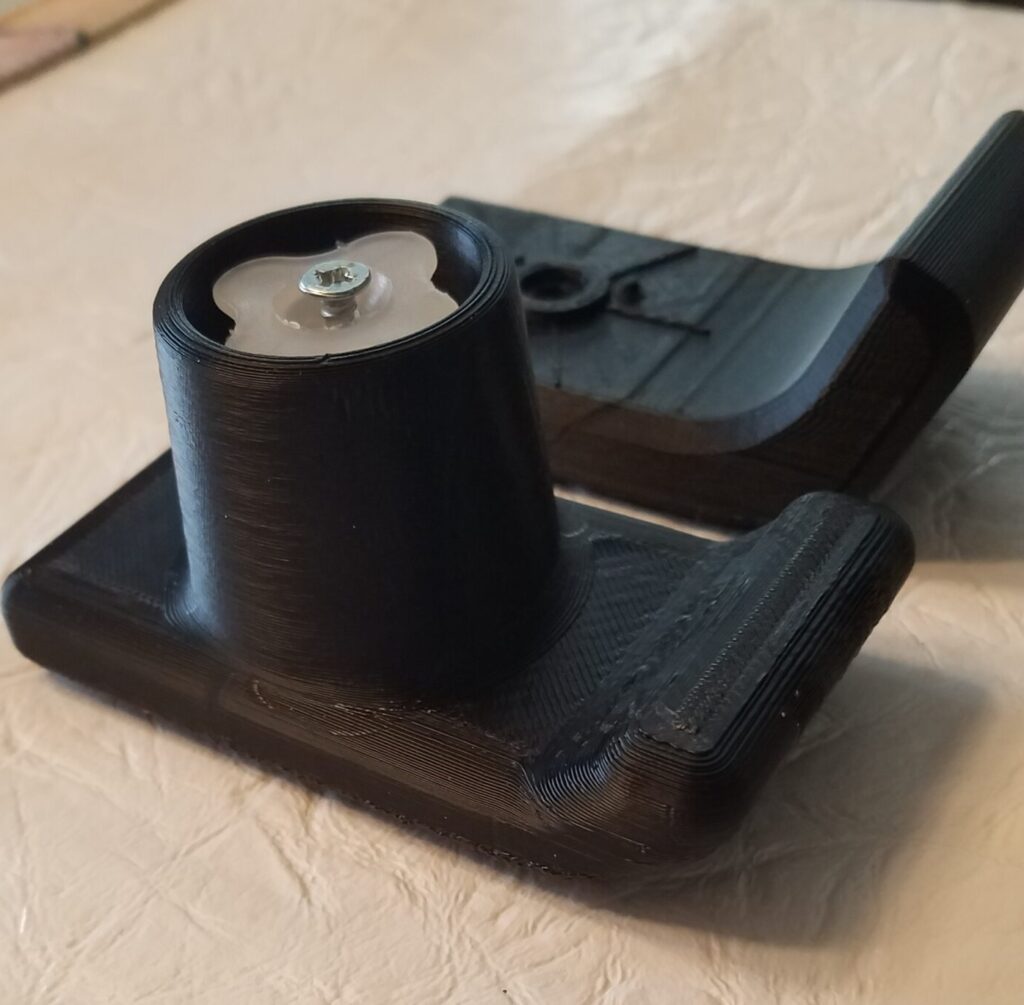
Parts were printed in PLA on the Ender3 V3 KE, Speedy-G and Tres (the 1st and 3rd refurbed KE in the lineup). The nests were printed in two color layers on the FF AD5X.Gridfinity base grids where printed on the Lost Cuz.

3D Printing Projects 202411 – Snowman Container

Bob wanted a snowman container similar to the teddy bears with the screw on head. We had done some conversion on another project going from threads to a quarter turn key. Having no luck finding a hollow snowman we proceeded to design it from scratch.

Onshape to the rescue:

Using the bear as a guide for size the 100% snowman ended up with a 2 inch opening at the top and about 7 inches tall. Once in the slicer it was scaled to 50% and because the original wall thickness was 3mm the scaling worked for a stable print. First test pieces were sliced with Creality slicer and printed in a V3 KE.

Parts were printed in PLA on the Ender3 V3 KE, Tres (the 3rd refurbed KE in the lineup). 

3D Printing Projects 202204 – Walker Skis & BobBootSki

Bob needed some walker skis. I had printed some many times as the abrasiveness of the pavement and friction wear them out. I dug up the file and printed some that I had many times before.

This design was printed to fit some rubber boots that slipped over the walker leg pipes. The unit was held on by a screw, nut and washers.

Bob took these home only to realize that his system was slightly different. The pipe ends were a molded cup with a screw holding an insert for the internal diameter of the pipe. My first thought was to print some boots in Nylon that would adapt the the skis. I started that design project in Onshape sketching and revolving the shape without detailed dimensions. I called the file, BobBoot. When finished I thought, “why not just print the whole thing and use his inserts?” Here’s the result. Hidden is the fancy boss on the bottom of the cup that locks the insert from rotating and accepts a screw to hold it in place.

“BobBootSki”

I added detailed dimensions and developed the boss to receive the insert. When finished I thought, “might as well add the ski!” With a quick rectangle and ski profile I swept the ski attached to the boot. Now the device is called the “BobBootSki.”

Details of the boot, screw hole and anti-rotate square pocket of the “BobBootSki.”
Cutaway view of “BobBootSki”

Parts were printed in ABS on Cat’sPaw (FF Creator).