Bruce from the E3 club introduced the sleeve adapter for the spool holder he found on Thingiverse. It was tweaked in a number of ways.
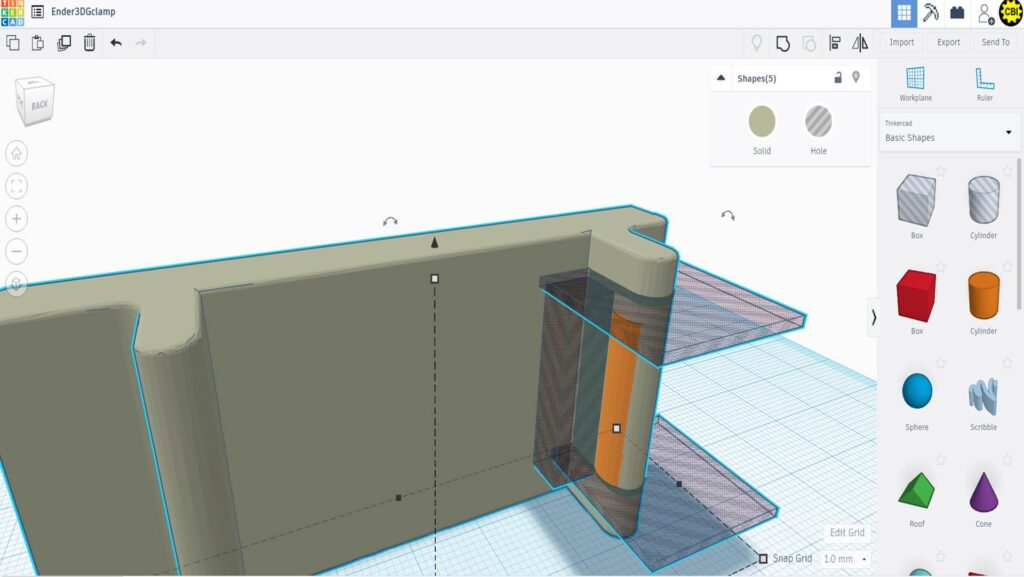
- The design fits the Ender 3 post but was too big for the Killer class machines we have so a thickness ring was added. The original design stl was imported into Onshape and the ring was added.
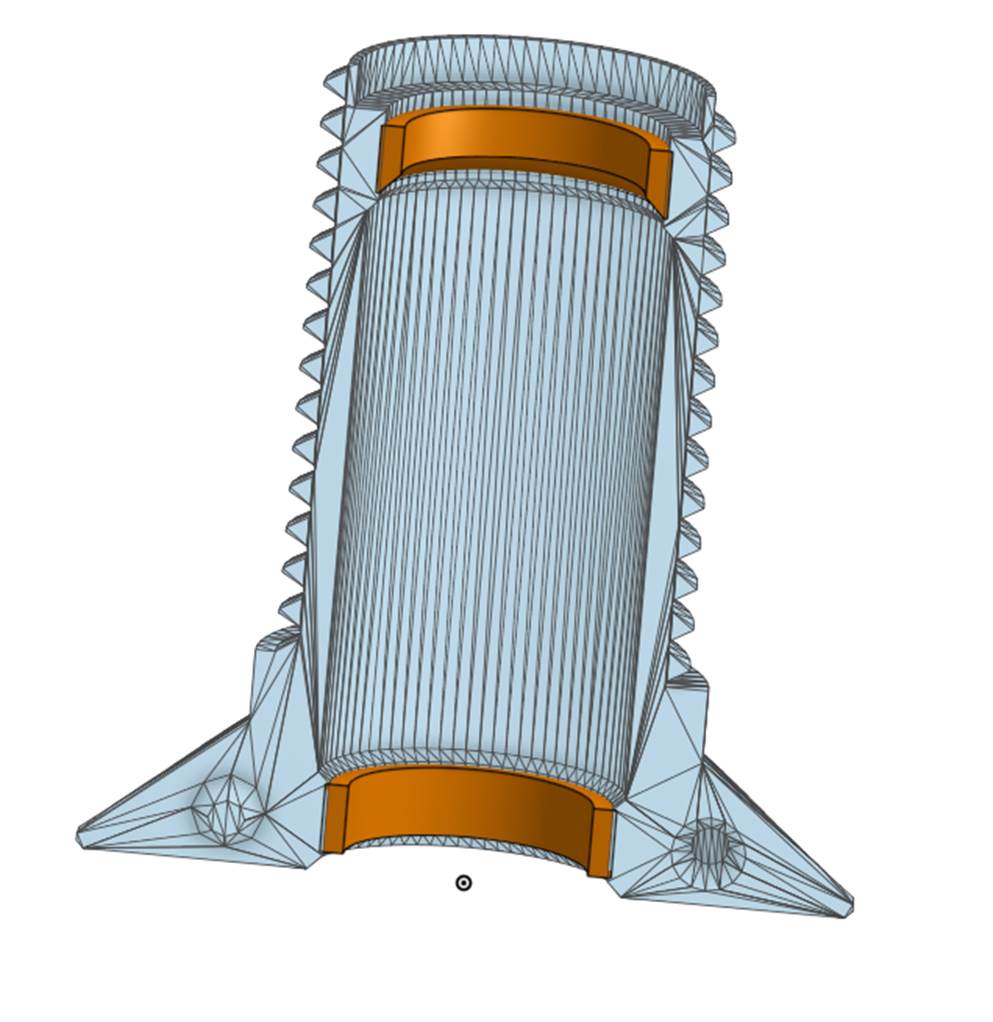
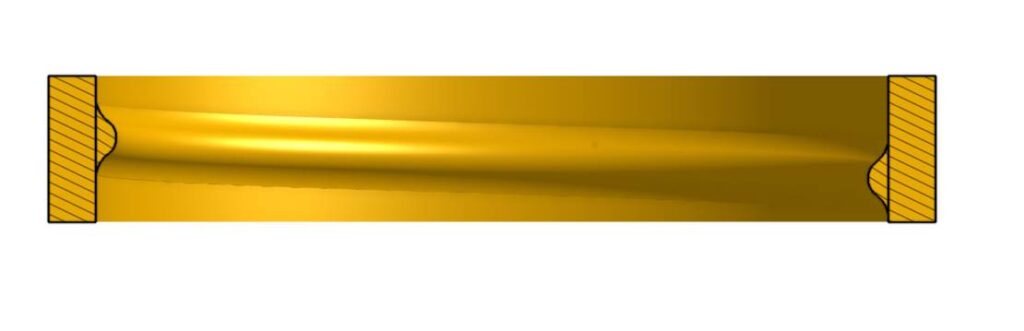
- The thread form was traditional 60 degrees. When printing this sags in one direction.This didn’t make it super easy to spin. The sleeve was redrawn in Onshape with a round semicircle thread form. All parts were adapted with a semicircle thread form. A lot of turning is required when you have a large opening in the spool hub.
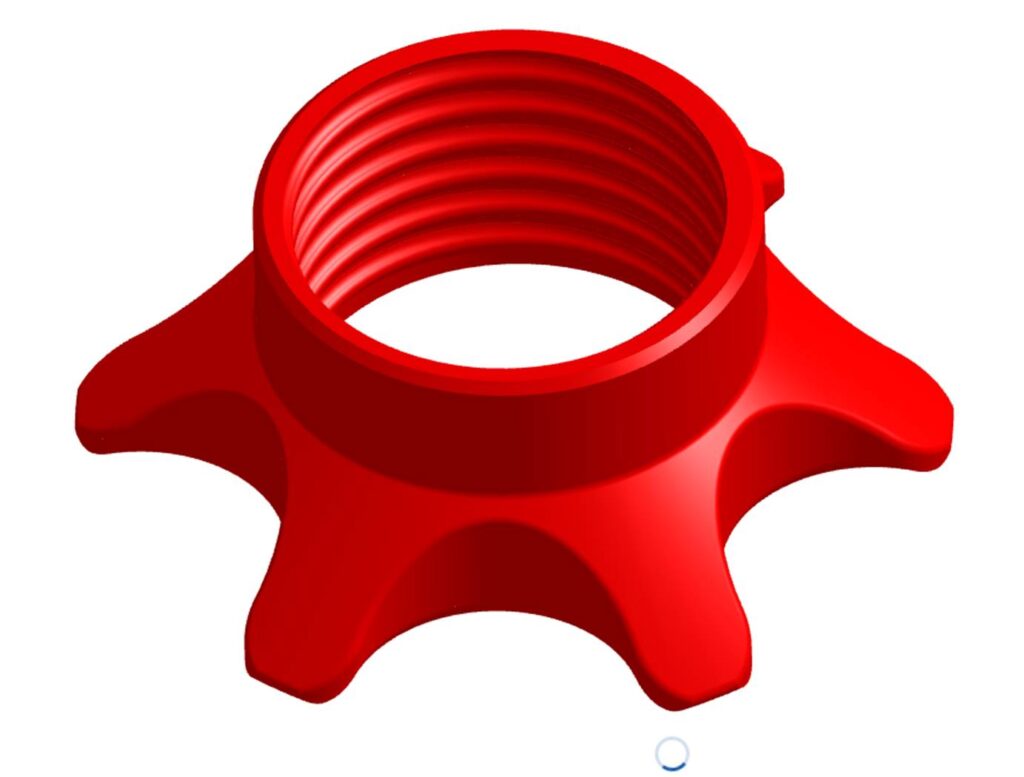
- The “spikes” on the wedge portions of the bolt and nut were hard on the fingers. A more relaxed ergonomic design was developed.
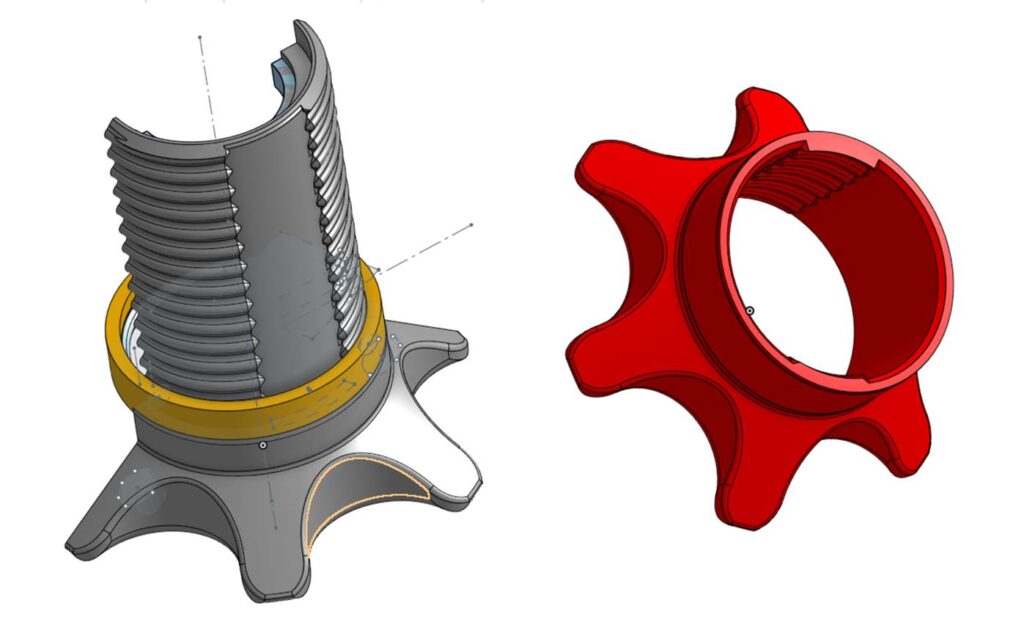
- To minimize the amount of turning a split thread was developed borrowing from wood vices of the past.
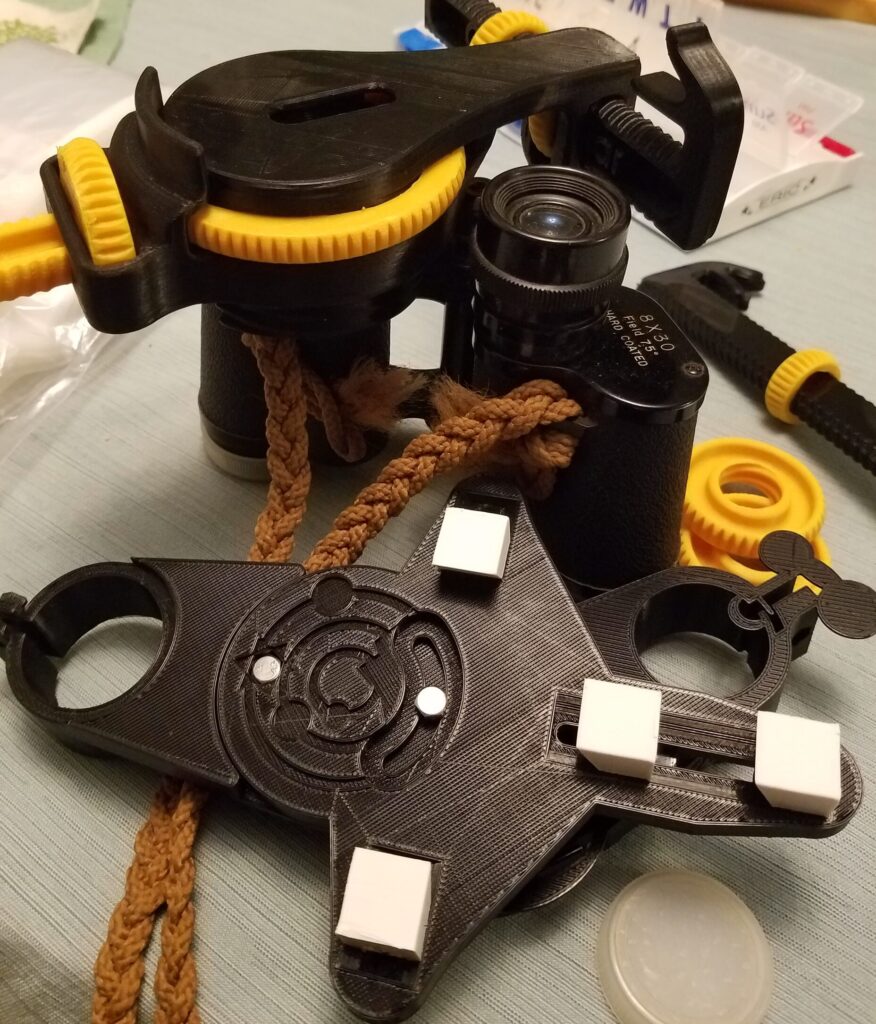
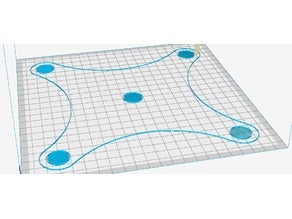
The four parts are shown here.
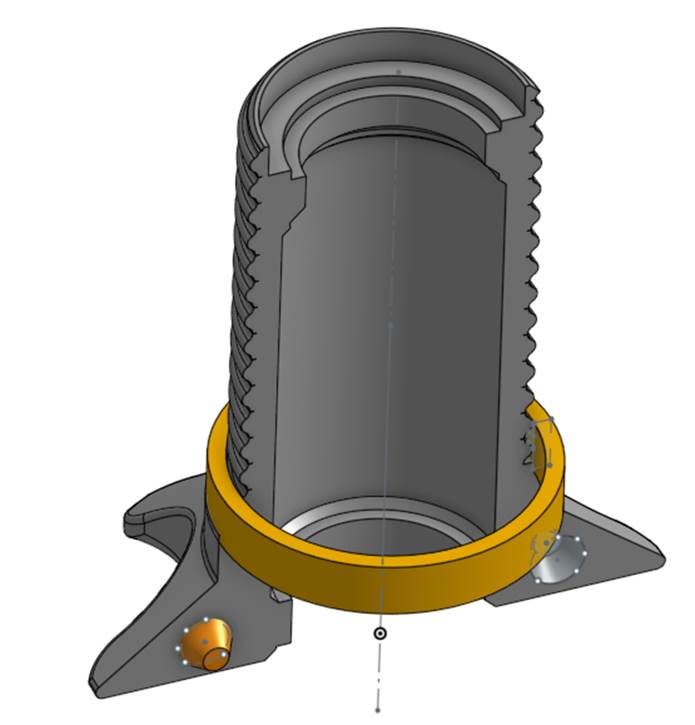
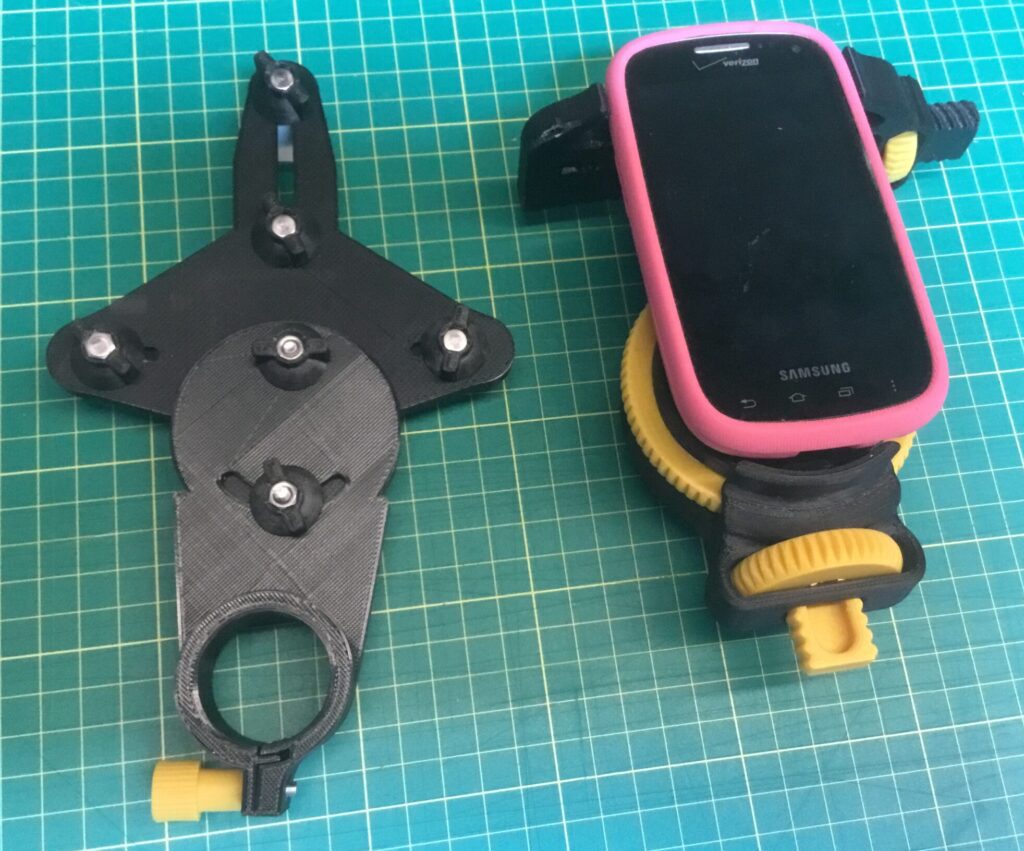
Note the semicircular thread form in the section view here.
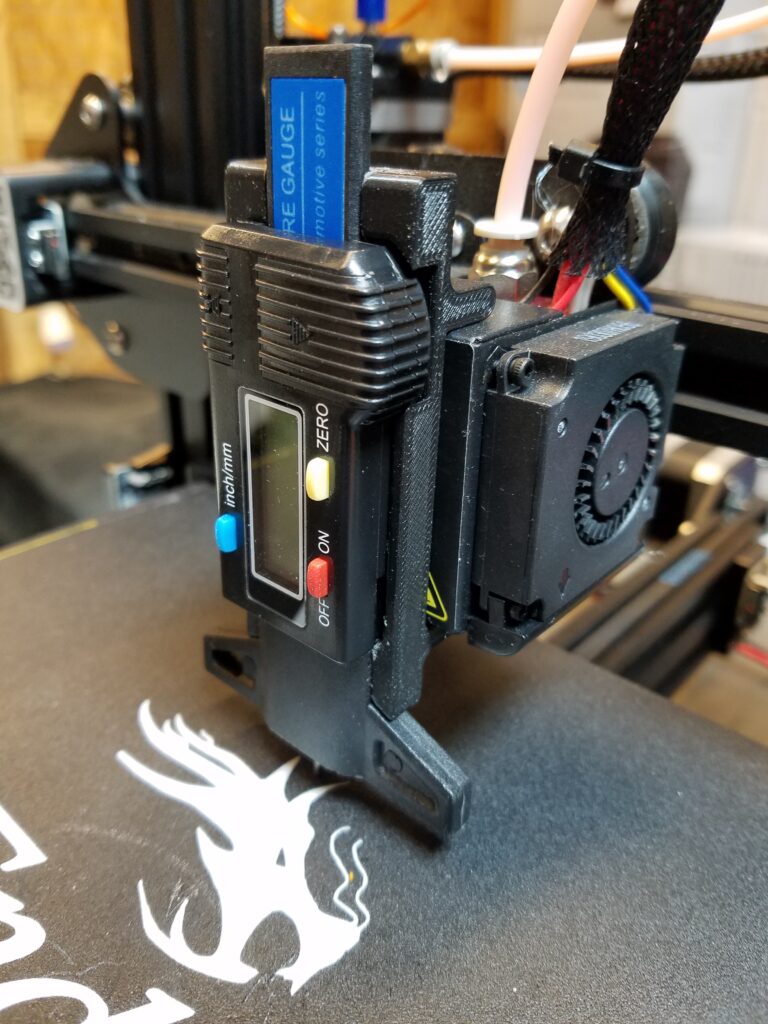
Parts were printed in PLA on various Ender3’s.